
If you are anything like me you must be fascinated by the world of 3D printing. The ability to bring digital designs to life feels so magical.
To get started into the world of 3D printing you just need a 3D printer, a file (model) to print and a special piece of software called a Slicer.
What is a 3D Printer?
Unlike 2D printers these machines create objects in 3D. All 3D printers can be basically classified into these two categories -
- FDM - Stands for Fused Deposition Modeling, its basic principle is to create a object layer by layer by laying (extruding) molten plastic. They are cheaper and the most widely available type of 3D printers. They are ideal for beginner and hobbyists.
- SLA - It stands for Stereolithography, its basic principle is to create a object by curing a liquid resin by using a light source.
Get to Know Your Printer
Before you start printing, it’s wise to understand the basic parts of your printer and how they all work together.
Here is a brief overview of a FDM printing process :
- You first need to find a 3D model to print.
- After you have find your model, you open your slicer software and convert your 3D model to a file that your printer can understand. This file is called a G-code file, it has step by step instructions on how to print the said model.
- Your printer uses material to print, these are mostly plastics and are in the form of a wire rolled in a spool. This is called a filament.
- The printer has a hot-end which melts the plastic filament. This hot-end is mounted on the top and is connected to a series of servo motors using timing belts. There is a flat surface on the bottom where the object is actually printed. It’s called the “bed”. The hot-end extrudes the molten plastic on the bed layer by layer. Each layer is very thin (typically 0.2 mm) and each object is just made up of a series of layers stacked on top of each other.
If you want a simple analogy - imagine you have a glue gun. The glue gun takes in glue stick and melts the glue and expels it through the nozzle if the trigger is pressed. Say you lay down a square on a flat surface using this glue gun and keep laying down one layer on top of another layer, you will soon have a 3D cube like object in front of you.
That’s essentially how FDM printing works. You lay down thin molten plastic layer by layer.
Choosing the Right Filament
There are quite a few materials available to print in. If you are just starting out I would recommend using PLA (Polylactic Acid). This is the most common material and all FDM printers can print this easily. Its easily available and cheap. You can get 1 kilograms of PLA for 900 rupees on Amazon or 800 on robu.in↗
PLA is good for many use-cases but this is not recommended for objects that are expected to bear stress and sunlight. For that we have other materials such as PETG and ABS.
Choosing a Model for Printing
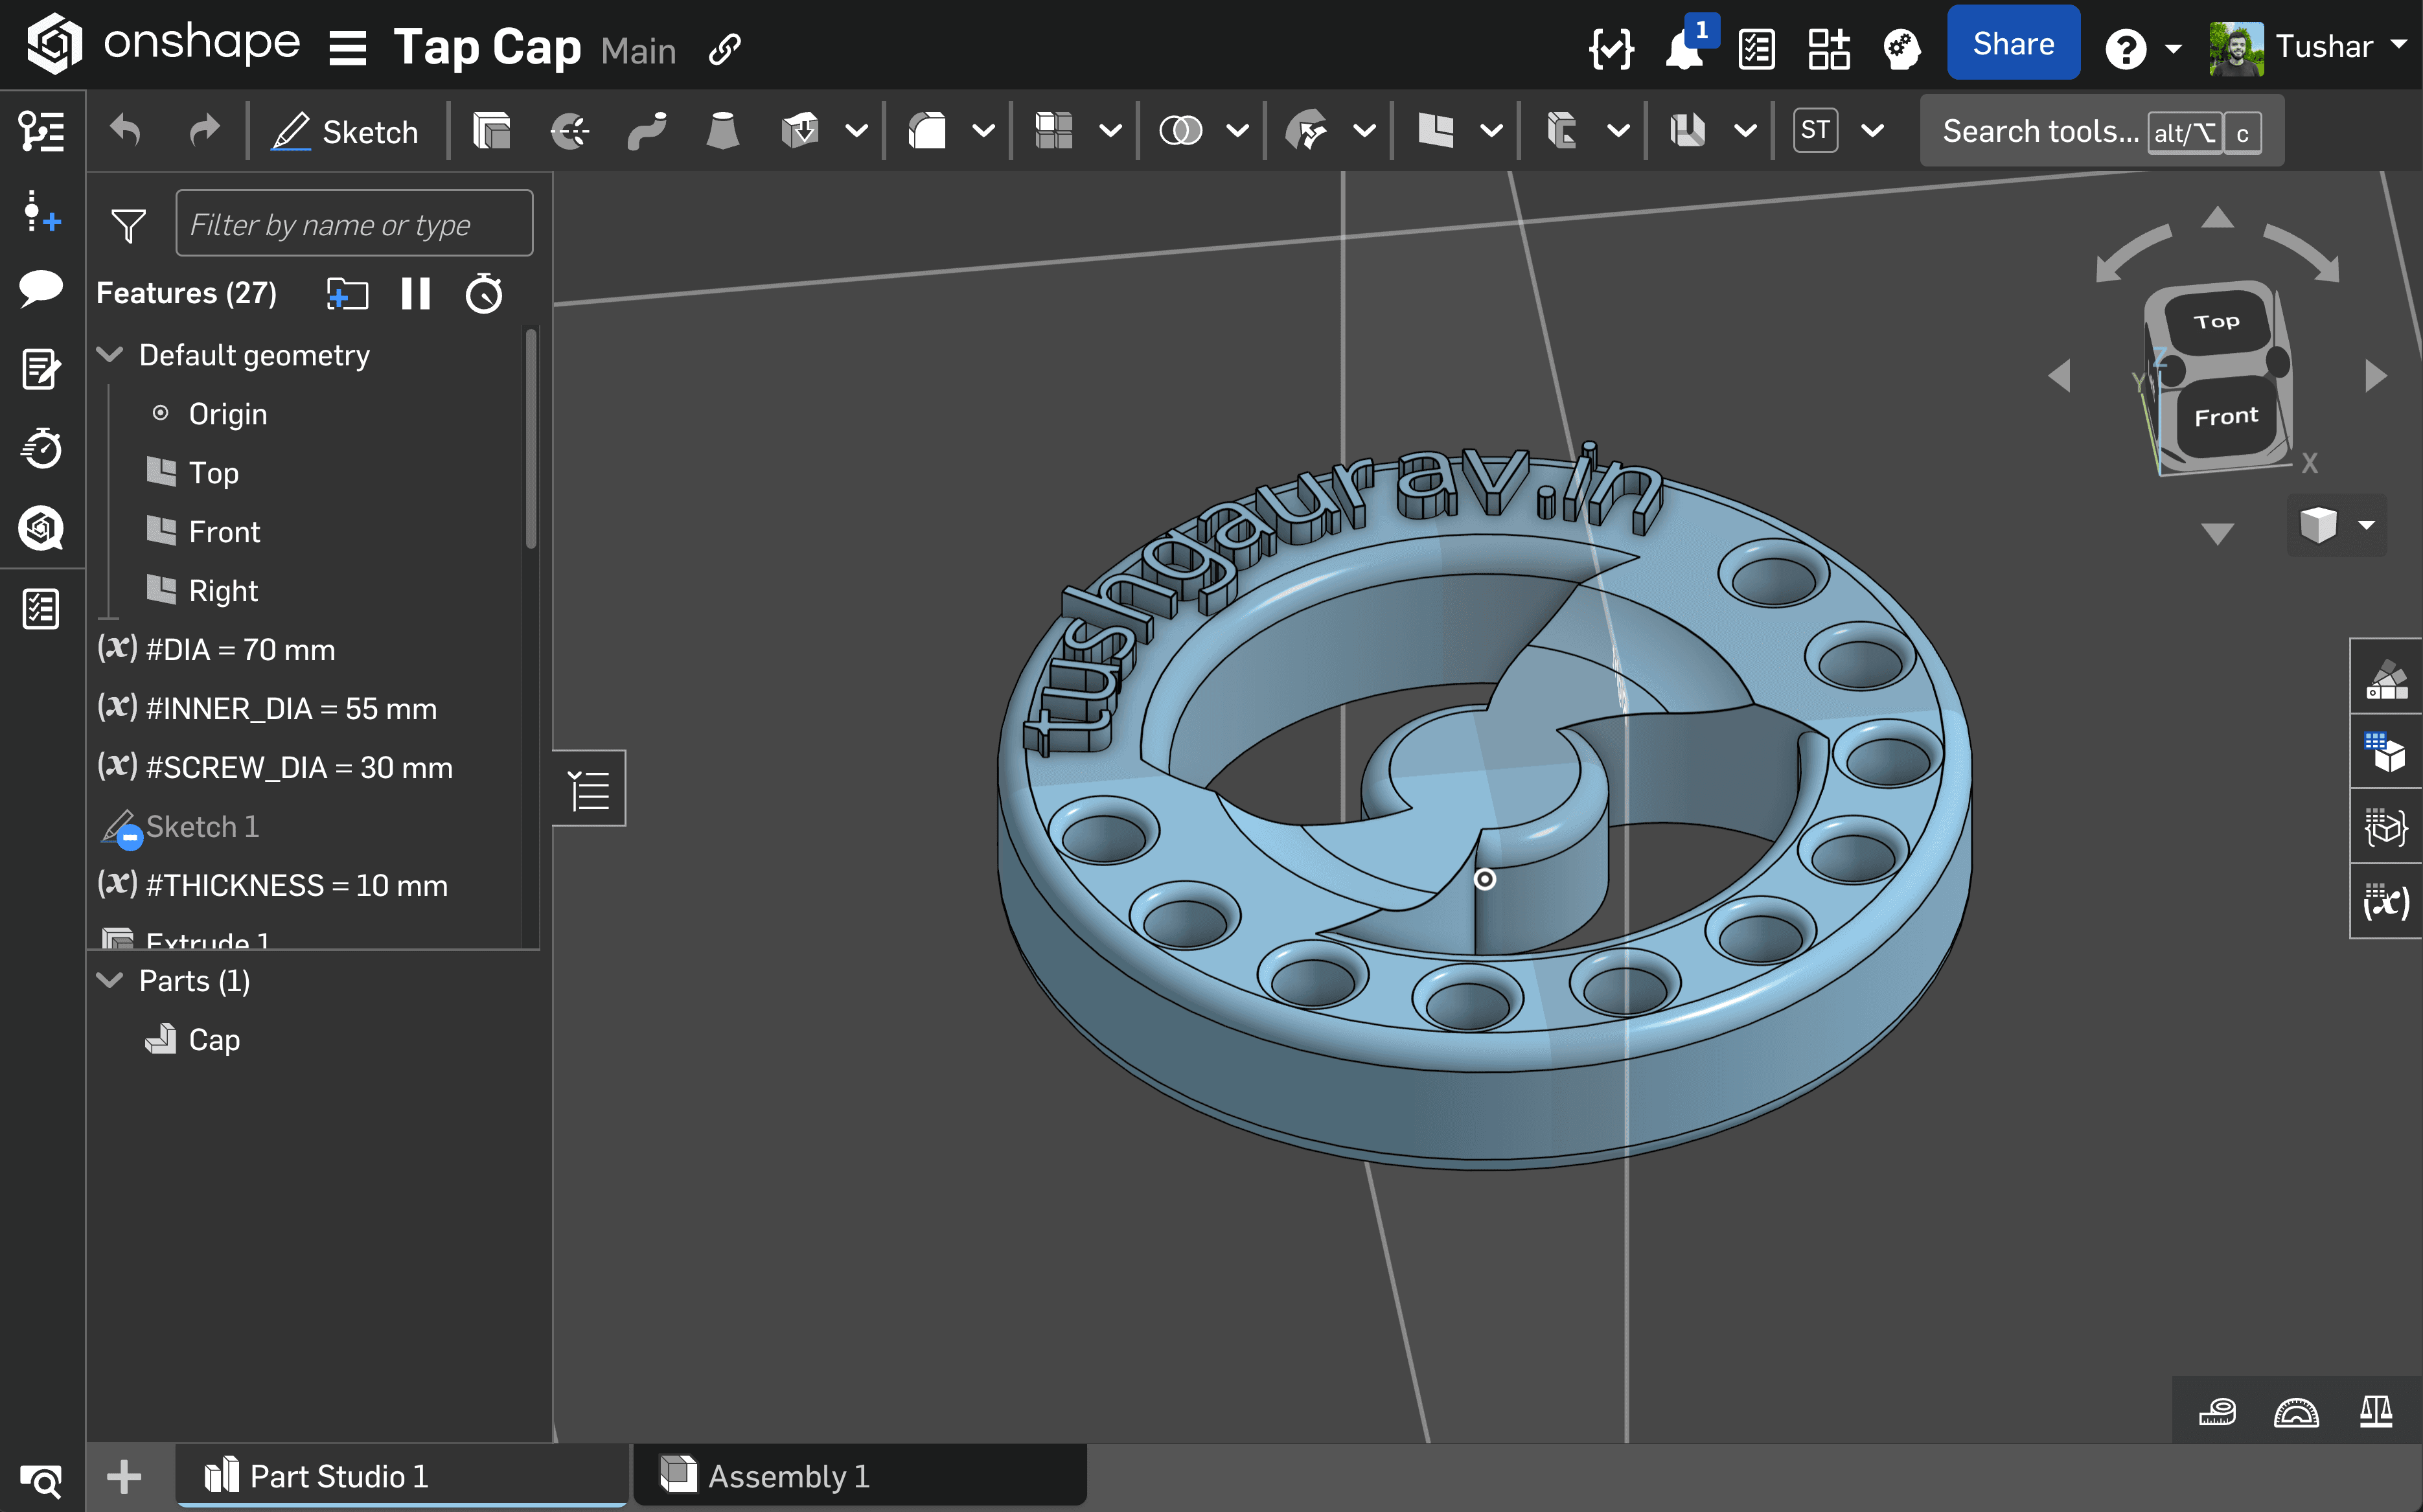
There are many sites where you get access to free 3D models to print. I recommend Thingiverse ↗and Printables↗. You can almost find everything you ever wanted to print on them. But eventually, you will run into something that you need in your daily life such as a broken part or something which is not available for you anywhere. In this case you will need to design your own model. This is called CAD (Computer Added Design), there are many software available to choose from. My go to choice is OnShape. It runs on the browser and all features are available for free for a education license. There are other alternatives available such as AutoCAD, TinkerCAD etc.
What Is a Slicer?
Now that you have selected a model to print you should be able to print it right away? Right?
No, your 3D printer does not understand it. It just understands simple instructions such as - MOVE, EXTRUDE, HEAT etc.
You need to convert your 3D model into these instructions for the printer to follow. A slicer is what you need. It “slices” or converts your models to individual layers of instructions that the printer can follow. Your printer should come with its own slicer, and for a beginner its fine to use that only. But my recommendation is Ultimaker Cura↗ if you want simplicity or OrcaSlicer↗ if you want advanced control and tweaks.
Final Steps
After you have sliced your model with the appropriate settings you will have to send this file to your 3D printer. This is historically done using a microSD card but nowadays modern printers support WiFi also.
Before starting your print, here is a brief checklist to follow -
- Make sure that your bed is empty.
- Make sure you have your filament loaded.
- Make sure your bed is properly leveled for accurate prints. For almost all the newer models this is done automatically.
3D printing is one of the most rewarding hobbies for anyone who loves making, experimenting, or prototyping.
You’ll start by printing fun gadgets, but soon you’ll find yourself solving real problems — creating tools, replacement parts, and custom items that simply don’t exist elsewhere.
The best part? Every print teaches you something new.